I've had this table that I use for Ogre miniatures gaming for many years. I picked it up at a surplus sale from my employer, where it had been used as a conference table in the boardroom for many years. I think I paid $25 for it.
It's mahogany, and extremely heavy. At one point I refinished the top, but it has suffered a lot of abuse over the years. The table is 42" wide and 96" long.
The other day I decided to figure out how to add an extended table top to it, for a larger playing area, without damaging the table top any further. Here is what I came up with.
I purchased two 4' x 8' sheets of 3/4" MDF and cut them down to 4' x 6'. From the cutoff pieces I made four locator strips and attached them to the undersides.
After attaching the locator pieces I flipped them over onto the conference table.
Now instead of 28 square feet of playing surface I have almost 50 square feet. The table is now 6' by 8'. Lots of room for Ogre miniatures games!
The nice part is they are removable and can store in my garage if I need more room. There's at least 30" of walk space all the way around the table though.
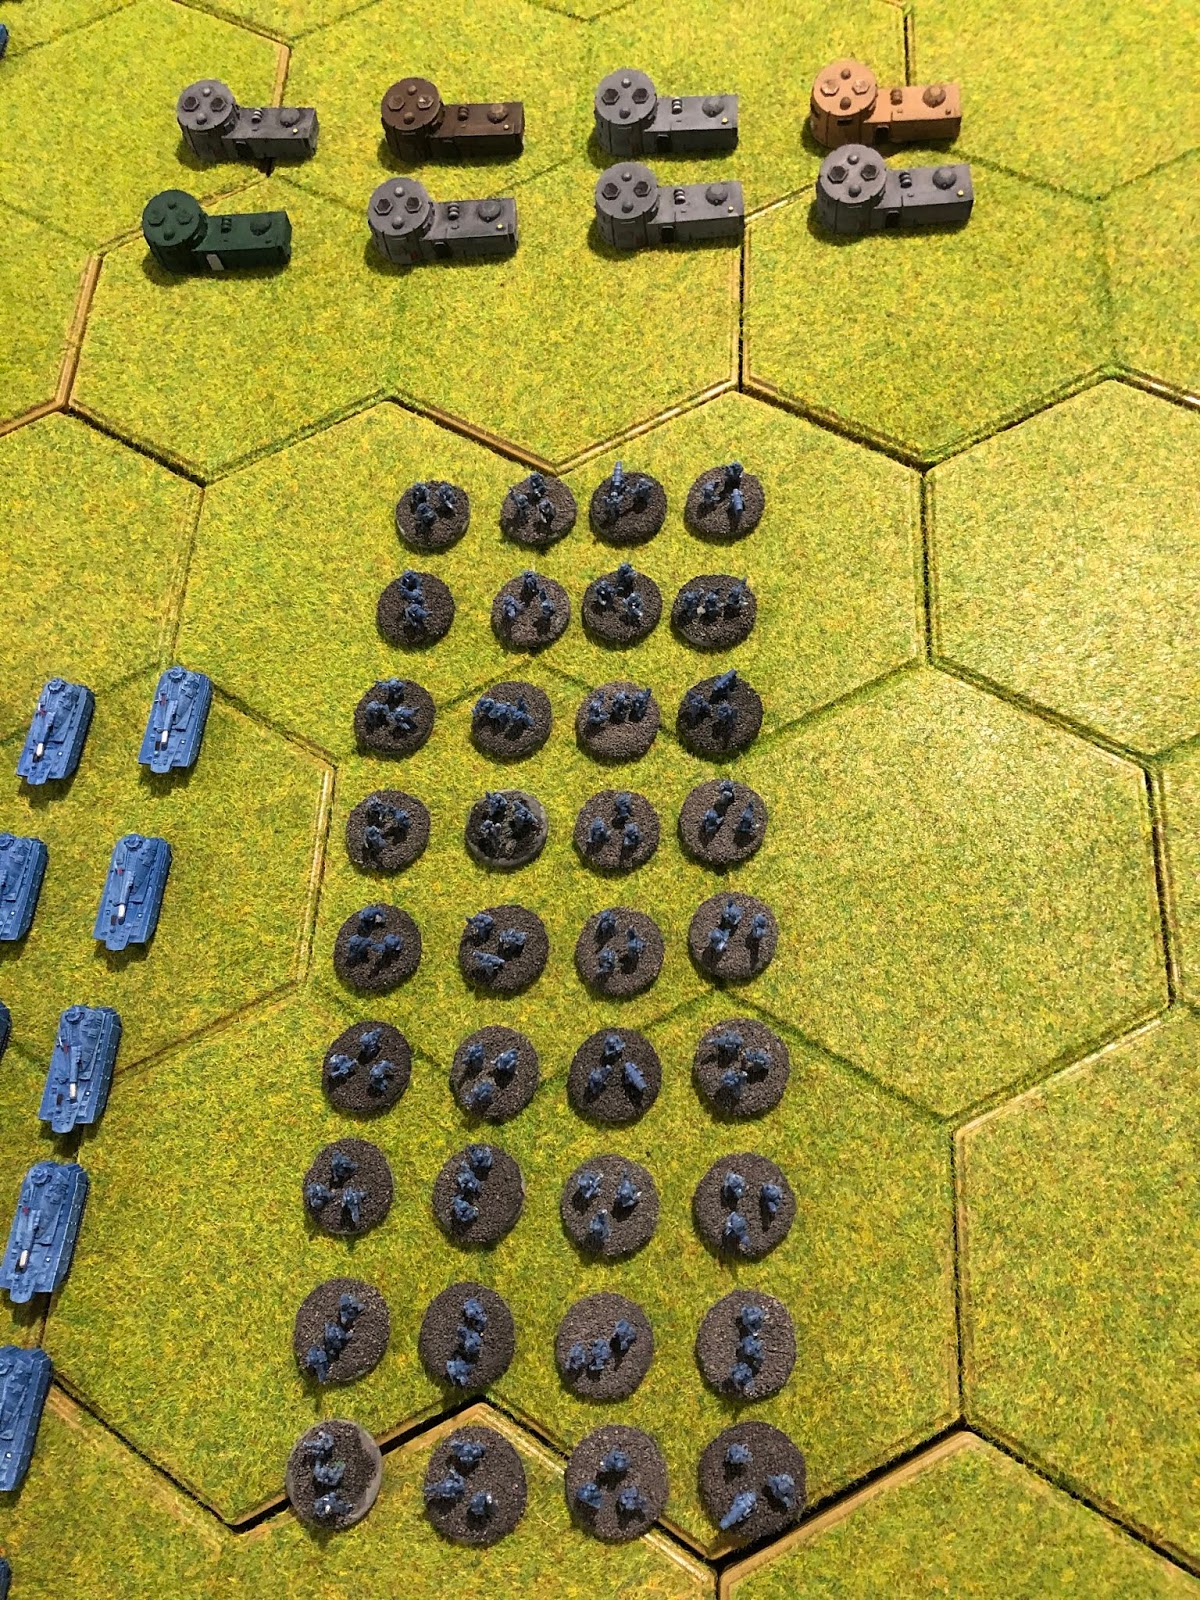
Here it is with some Hexon II tiles laid out on it.
And now with some Hexon II terrain features added.